
How To Make A Gradient Rainbow Cake
Last week was Violet’s 9th birthday and given how stressful and crazy things have been—including the fact that all the plans around her birthday were cancelled—I wanted to make her a tremendously happy, colorful cake. It was literally the one thing I felt I had control of and she loved it so much! I shared the cake on Instagram (I’m @helloChristineKoh) in the hopes that it would provide some rainbow therapy for people and was so happy it did the job. So as promised on Instagram, I’m sharing a tutorial on how to make a gradient rainbow cake. Because, hey, we’ve got time on our hands right now. This could be a multi-day project for your kids!
Now, let me just say that if I had my normal content creator hat on, I would have shot tons of photos (especially of the piping stages) along the way, and maybe some video too. But these are unusual times and not only was I in a huge mental fog due to COVID-19, I was also—in typical Christine Koh fashion—figuring my technique out along the way. So the next time I make this cake I will take more photos to add to this post! However, I wanted to share this tutorial now because I figured out a way to create this gradient rainbow cake effect with less mess and wanted to write it down for next time.
1. Make cake
I recommend making the cake the day ahead of when you want to eat it just to space out the process. In this post on tips for baking with kids I share links to some of my go-to recipes. Box mix is fine too! I recommend making a 3-layer cake so you have enough vertical space for the rainbow effect. I adore small, tall cakes so for Violet’s cake I made three 6-inch layers of Devil’s food cake (her request; this recipe say it is for two 8-inch layers but it’s a ton of batter; it will make three 6-inch layers + a dozen cupcakes).
2. Make Buttercream frosting
I recommend making a double batch of buttercream frosting so you have enough to create all the colors. I used this basic buttercream recipe; it colors and pipes beautifully.
3. Assemble/ice cake
As I mentioned, I was making this up as I went and originally I thought I was going to do a partial rainbow effect where it was fully piped on the top two-thirds of the cake with some white showing at the bottom, which meant I wanted to properly ice the cake. This photo is my cake almost fully coated, on its way to having a perfect flat finish. HOWEVER, for the ultimate design I ended up with, since I changed gears and decided to pipe the entire thing, you only need a crumb coat or thin layer of icing is needed! Save icing!

4. Mix rainbow colors
You will need 8 bowls to create your colors: red, pink, orange, yellow, green, 2 blues (I did a light blue + dark blue), purple. I also recommend retaining some white icing in a separate bowl in case you need to lighten up any of your colors. But generally speaking, to make the colors, I definitely recommend using gel food coloring (not liquid). You will need to make more red + pink than the other colors since you need to cover the top of the cake with these colors.

5. Prep your tips and bags
OK, so here’s where my lazy/tired/accidental gradient trick came in! At first I thought I would need 16 piping bags: 8 colors x 2 bags, since I wanted each color to have a large + small coupler tip (more on couplers in a second) + a slew of piping tips. AGH! HUGE MESS! As you can see in the photo above I had my whole tip kit at the ready. Ultimately, I only needed 5 bags, 5 couplers (2 large, 2 small), and 5 tips. BOOM.
Let me just explain couplers in case you don’t know what I’m talking about. Couplers are the white things you see in the picture below. Each one screws together in two pieces. The large piece goes inside your piping bag and then you place your tip on the outside of the coupler/bag and screw it in place with the coupler ring. The beauty of using couplers is that then you can change tips easily with the same frosting bag. LESS MESS! With that in mind, assemble your bags + couplers so you have 2 piping bags with large couplers and 3 piping bags with small couplers. Ultimately, here’s how you will use the bags:
Bag 1: large coupler + tip (icing colors = red, pink, orange, yellow)
Bag 2: small coupler + tip (icing colors = red, pink, orange, yellow)
Bag 3: small coupler + tip (icing colors = yellow, green)
Bag 4: large coupler + tip (icing colors = green, light blue, dark blue, purple)
Bag 5: small coupler + tip (icing colors = green, light blue, dark blue, purple)
As for piping tips, the goal is to vary the shapes so you can see changes of texture in the piping. At a minimum you need two large (I used #1B, #4B) and 3 small (I used #10, #32, #131). Though if you want to add more, feel free!

6. Get piping!
Now for the fun, therapeutic part!
RED ICING: Fill bag #1 and bag #2 with red icing. Pipe in a random pattern on top of cake + top outer edge: the great thing about this is design is that it doesn’t need to be perfect and the color lines should be wavy. Start with the large tip and add on with the small one. Switch tips on both bags for texture variation, squeeze down the icing, and finish the red icing. There will be spaces to fill in with the pink icing, which will help provide variation.
PINK ICING: Now, here’s where the gradient beauty comes in! Load your pink icing directly into bag #1 and bag #2! Fill in the spaces at the top of the cake and top outer edge. You will see the red to pink transition happening as the pink frosting pushes the red frosting out, and then the frosting will be just pink (see photo of cake below). Halfway through your use of the pink frosting, switch tips again for variation (you’ll have more gradient effect here as the pink frosting pushes the red out of the tips).
ORANGE ICING: Repeat as you did with the pink icing for the orange icing. The gradient effect is so pretty!
YELLOW ICING: Repeat steps with bags #1 and #2, however this time with one-third each of the yellow icing. Then use a clean bag (bag #3) for the remaining third of the yellow icing. I did this because I wanted some of the yellow to be pure and pop completely cleanly.
GREEN ICING: I put a small amount of green behind the pure yellow in bag #3 to create the yellow-green gradient but otherwise, here is where I started fresh with bags #4 and #5, because otherwise I was concerned the colors would start getting muddy. I also washed the tips I had been using so I could start fresh (but if you have additional tip options you can start with clean ones here. Repeat the process of piping wavy lines and switching the tips on both bags midway for texture variation.
LIGHT BLUE, DARK, BLUE, PURPLE ICING: Repeat process with the 3 remaining colors in bags #4 and #5.
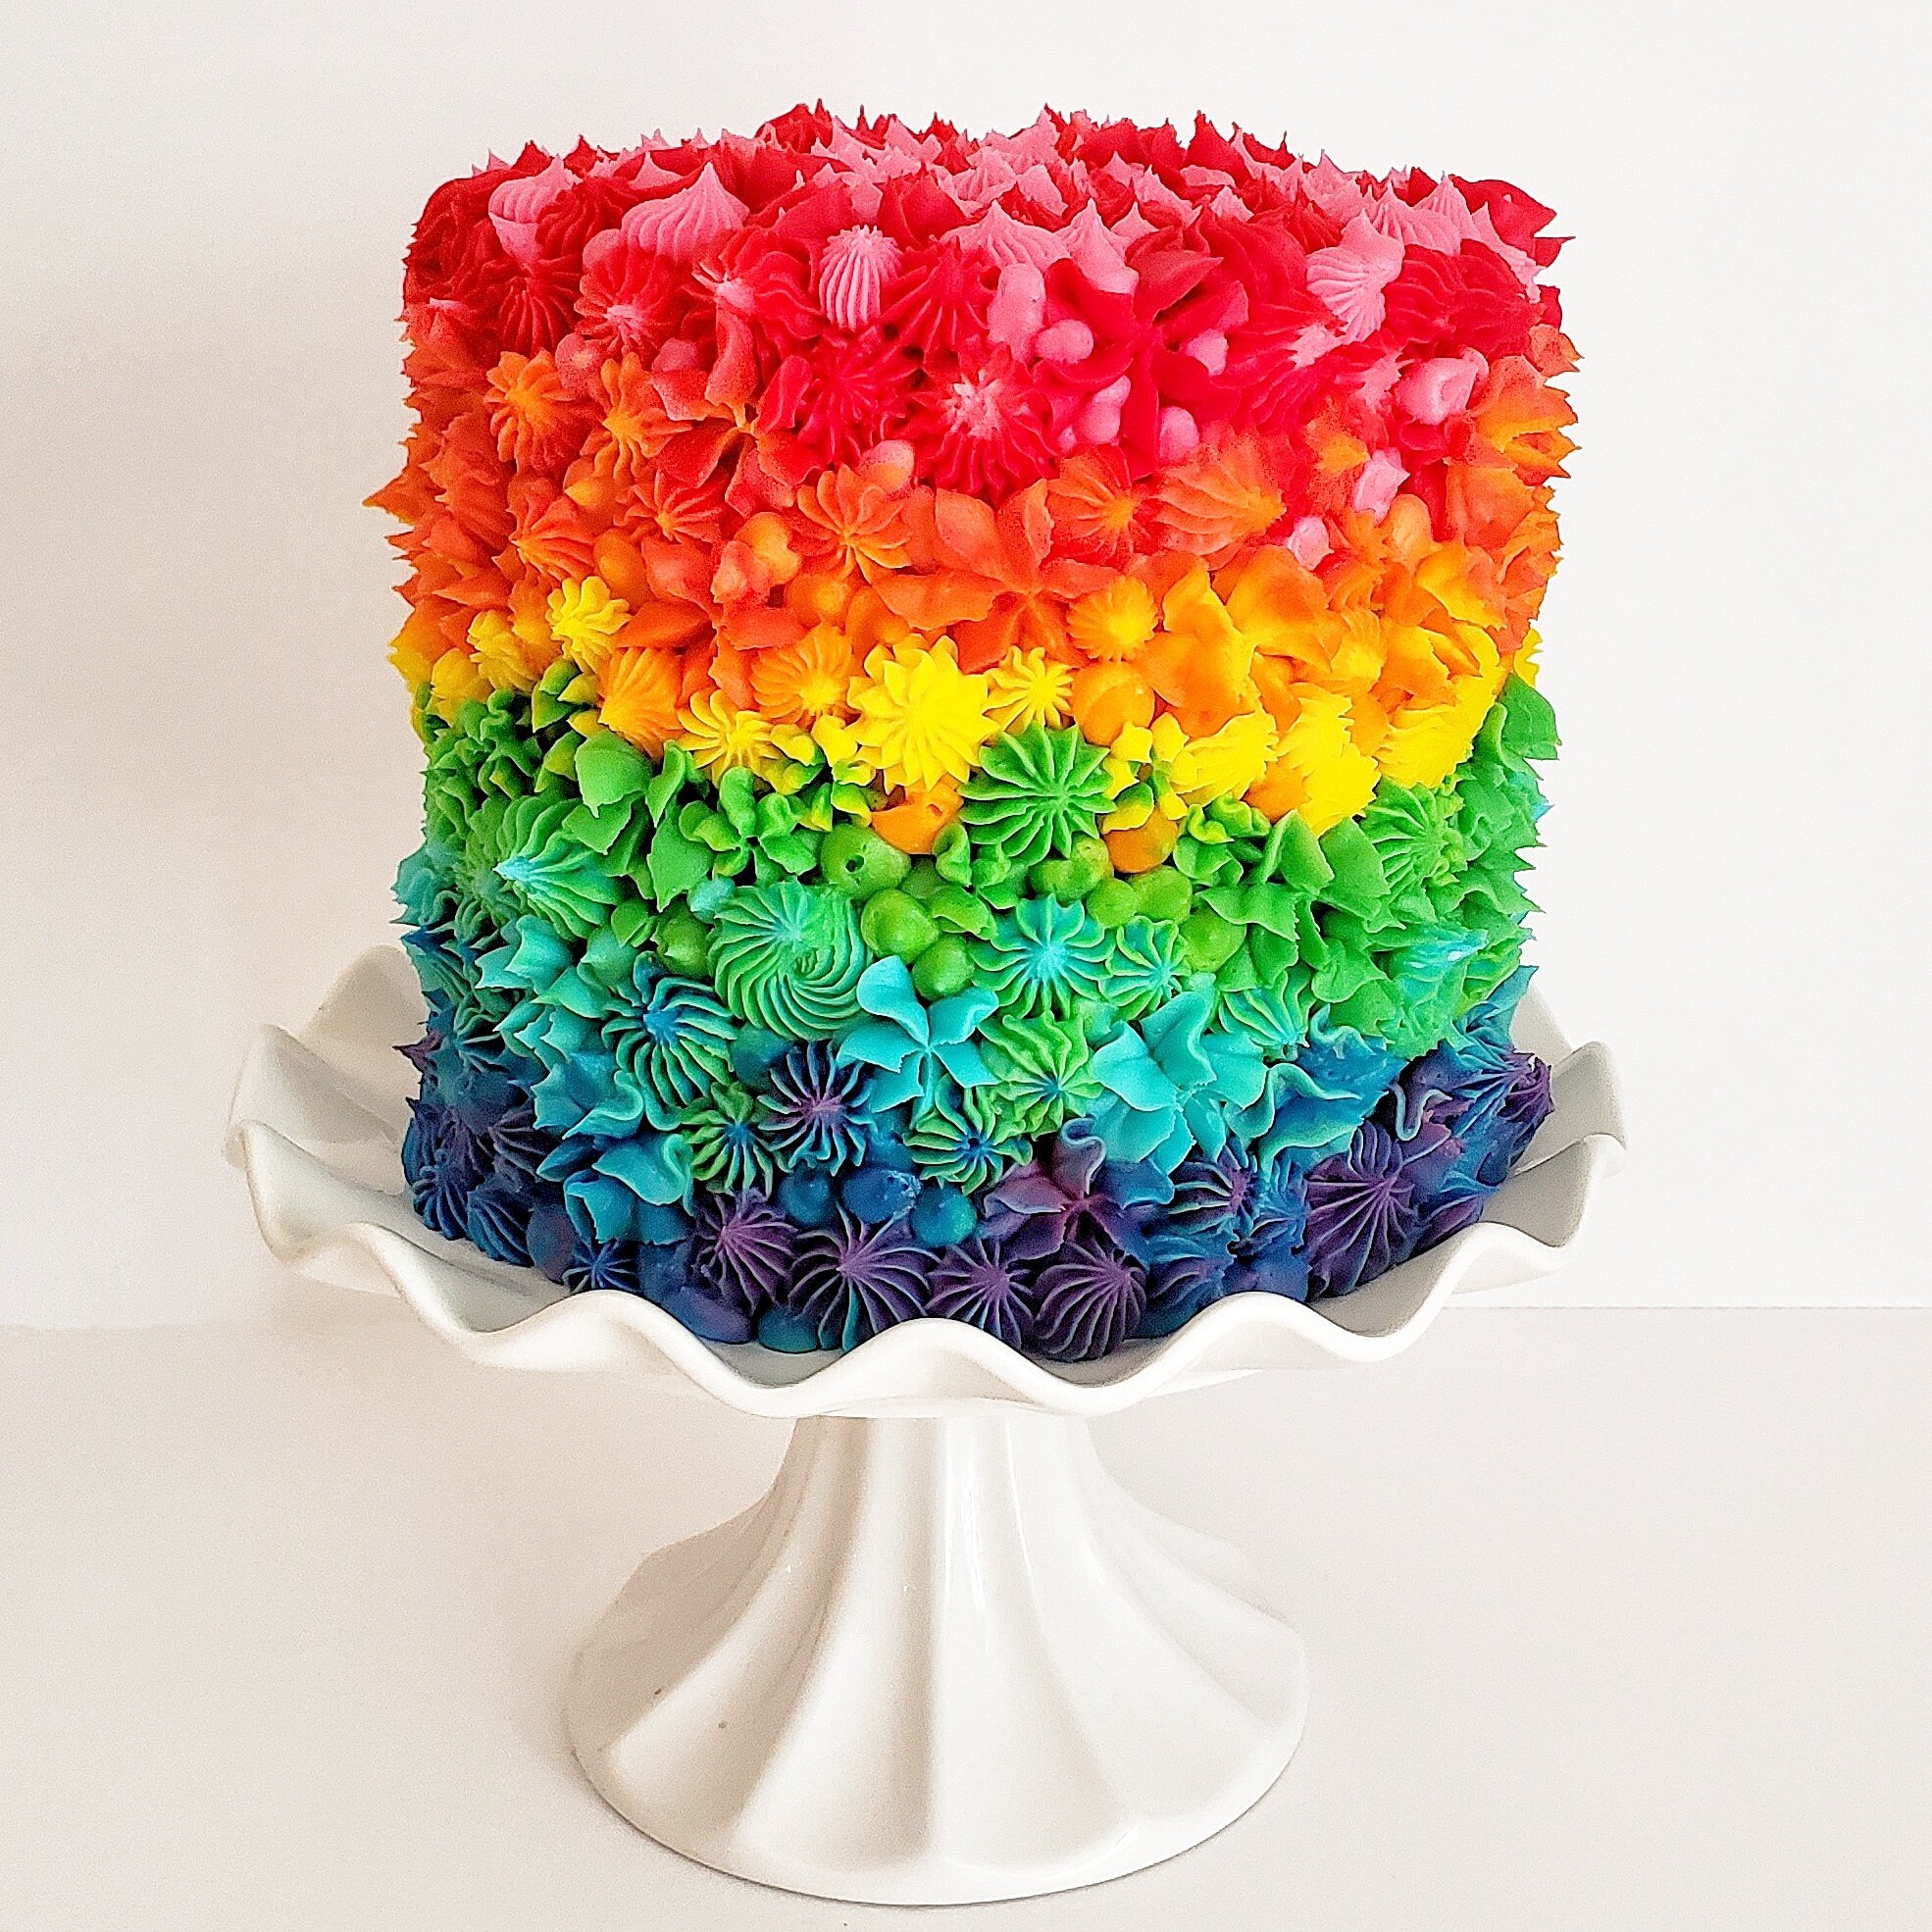
And there you have it! Obviously, mixing lots of colors takes time but seriously, amidst all of the craziness right now this was massive cake + color therapy for me, Violet loved mixing the colors, and she was thrilled with the cake. It was such a fun and beautiful project and I think we’re going to try making a mirror cake this week!
